While I love the handling of my road bike, something about the carbon frames has never fully made peace with me. I don't know if it's the hollow plastic sound when road debris hits the bike or just a personal aesthetic preference for the simplicity of welded tubes. I take a lot of pleasure with the tangible, mechanical nature of the bicycle as it contrasts with sitting in front of a computer all day, so I suspect this is more about the constructed aesthetics than anything else. I guess I'm a little bit hipster like that.
So, I set out to build (have built) a titanium frame that would synthesize modern frame features with a more classic frame aesthetic, and with road-race geometry. Disc brakes, new dropout standards, round straight tubing, 73.5/73.5 angles, short-ish chainstays, etc.
Choosing a builder
I decided early on that I'd have this built by one of the mainland Chinese titanium builders. I can't bring myself to spend more than $1k on a frame, so that was really my only option if I wanted a custom titanium frame. There are a few players in this arena that will deal direct to customers, most notable are XACD, Titan Product, and Waltly Titanium.
The key to helping me decide which builder to use (and really the key to getting into this project at all) was Andrew's www.spanner.org.uk blog. I traded a number of emails with Andrew both while choosing factory/fabricator and then for comments on designs and to share final result. (Thanks, Andrew!) Update: Andrew just published his own account of this build.
After getting initial quotes from XACD, Titan, and Waltly, I ultimately decided to go with Waltly. Waltly was not the cheapest option (that would have been Titan), but they left me with the most confidence in their ability to produce the frame I wanted. Of the three only XACD was willing to work with butted tubing (for additional cost), and while that was originally something on my list I decided that it wasn't a requirement to save a couple hundred grams (and my Lemond Victoire that had butted tubing did have a few dents in the tubes, so straight tubing seems like a more robust answer). I would consider using XACD in the future, though their sales rep, Porter, is quote notorious and they way they charge extra for every frame feature would have made this frame a fair bit more expensive.
What to build?
At a high level I knew I wanted a titanium road disc frame with a race-oriented geometry. I provided a basic set of features I was looking for to get the original quotes (since some builders charge extra for some of these features). But I was also open to changing specs depending on what the builders could offer for dropout design, cable routing, etc.
Frame Features / Design
My basic requirements:
- Disc brakes (of course!)
- ... but newer flat-mount disc brake road standard
- 142x12 rear dropouts
- 44mm head tube for tapered fork
- 27.2mm seatpost
- Threaded (BSA) bottom bracket
- round tubes
- straight tubes, clean lines (so some internal cable routing, probably)
Geometry
One upside to changing my road bike frame every year or couple years is that I've had a lot of experience riding different frames. And I've had a bike fitting which basically confirmed that experience. For sake of simplicity, I knew that my current carbon frame is configured with a good stack/reach setup for me. I then used the excellent Stack and Reach Calculator spreadsheet to plug in my current frame and stem/spacers setup and then find measurements that would work well for the new frame (a slightly steeper seat tube angle fits me better, so that needed to be factored in too).
| CALCULATE BASED ON GEOMETRY | |||
| GEOMETRY | FM166-58 | Ti | DIFFERENCE |
| TOP TUBE LENGTH (EFF) | 581 | 580 | 1.00 |
| HEAD TUBE LENGTH | 175 | 175 | 0.00 |
| HEAD TUBE ANGLE | 73.5 | 73.5 | 0.00 |
| SEAT TUBE ANGLE | 73 | 73.5 | -0.50 |
| BB DROP | 68 | 68 | 0.00 |
| FORK LENGTH | 369 | 369 | 0.00 |
| FORK RAKE | 43 | 43 | 0.00 |
| STEM LENGTH | 110 | 110 | 0.00 |
| STEM ANGLE | -6 | -6 | 0.00 |
| SPACERS + HEADSET + STEM STACK*0.5 | 39 | 43.26 | -4.26 |
| STACK | 576.36 | 576.36 | 0.00 |
| REACH | 404.79 | 409.27 | -4.49 |
| STACK WITH SPACERS | 613.76 | 617.84 | -4.08 |
| REACH WITH SPACERS | 393.71 | 396.99 | -3.28 |
| STACK WITH SPACERS + STEM | 633.80 | 637.89 | -4.08 |
| REACH WITH SPACERS + STEM | 501.87 | 505.14 | -3.28 |
After providing the various frame measurements, I also indicated that I'd be using a Whisky No. 9 fork with a 367mm axle-to-crown length. I wanted to call out that I'd need the head tube angle/length to compensate for the fact that I'd have an extra 14mm lower stack height on account of the external (Hope) headset lower bearing.
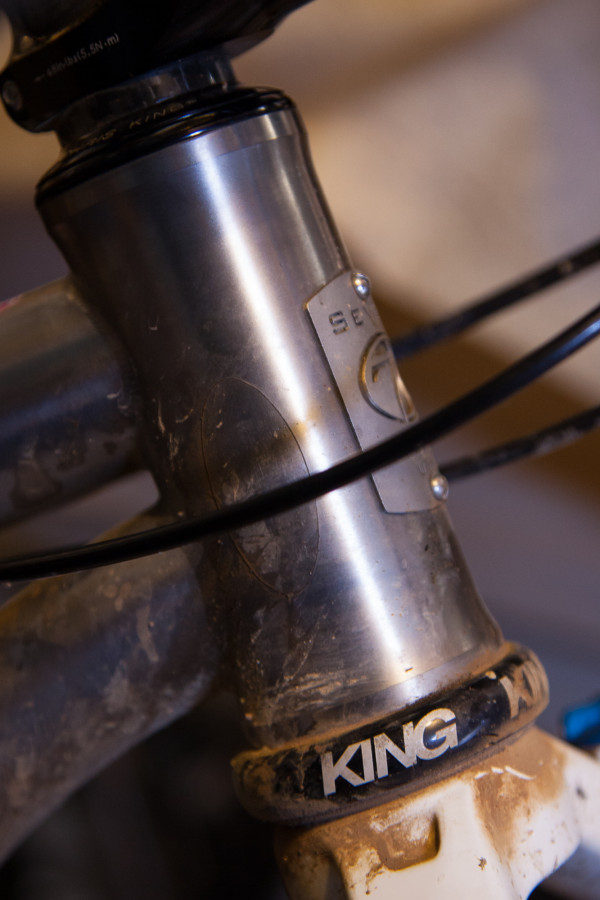 |
| Lower bearing stack height matters. |
Adjusting so that the effective angle would be correct despite additional stack height under the head tube wasn't something that I had fully appreciated when starting this project. But as you can quickly tell using the bikegeo.muha.cc calculator, adding 15mm to the effective axle-to-crown measurement of a fork makes a significant difference in the effective head tube angle.
Other geometry dimensions (BB drop, chainstay length, etc.) were based on my current frame.
The Process
My sales rep at Waltly was Amy Lv. She was very courteous and communicated very well and very promptly (obviously there was a timezone difference, so typically email exchanges would take 24 hours). There wasn't a language barrier per se, but I did learn that it was most efficient to be as clear as possible (and use standard/non-idiomatic vocabulary and phrasing) and include example photos or drawings to save back-and-forth emails.
But there were still a lot of emails, even when there was no misunderstanding. Around a hundred, last I counted. My own indecision was in no small part to blame there. Also, an important thing that Andrew (spanner.org.uk) relayed early on was that these builders are more fabricators than designers. They will happily make small design decisions to fill in unspecified gaps, but typically they will implement whatever they are told to implement -- even if it is a bad design. This is probably the biggest risk with building a Chinese custom ti frame. So I spent a ridiculous amount of time looking at other frames for ideas and reading the endless debates over the structural value of chain stay and seat stay bridges, etc. This all made me decide that someday I'd like to build my own frame -- probably with steel.
So first step was to work with Amy to specify as exactly as I could what I was looking for. I ended up also sharing with her a requirements/specification document to help me keep that growing list of specs organized. It was also a useful way to embed photos/diagrams and seemed to work pretty well as a means of enhancing email communications. Once we had specified everything, it went off to design department. Within a couple of days I had the first design back.
 |
| Version 1 |
- Straight 44mm head tube (not a tapered head tube).
- Larger 40mm down tube.
- Straighten those chain stays! -- which meant lengthening to 415mm and decreasing tire clearance.
 |
| Version 2 |
This looked much better, though I started worrying about the internal routing -- and specifically the gaping hole to accommodate 3 cables (housing) exiting near the BB. This didn't seem wise and I wasn't entirely sure that they had run any sort of structural integrity calculations on this. So after many different design iterations routing internally through various tubes and moving around caliper mounting etc. (mostly just iterating to myself, luckily), I settled on the obvious option to run the brake housing/hose externally using zip-tie mounts and internal routing for just the derailleur cables. In the back of my mind was the idea that if I drop my FD at some point I'll just route the brake internally making it a bit cleaner.
So after that was worked out I had the final version:
 |
| Version 3 (Final Verison) |
I also requested a sandblasted logo (on the otherwise brushed ti frame). I didn't actually have a design, but in an effort to have my frames be more forthcoming about their origins, I asked them to "paint" the Waltly logo on the head tube and the company name in Chinese characters (that you can see in the design document) on the front of seat tube. They were a bit suspicious as to why I wanted their name on the frame, but I explained that to me it just made sense since they were the ones building it. Of course, later I saw that for bike shows they have a standard branding they use on their frames; I would have just requested that had I known it existed. Adding the sandblasted logos added $30.
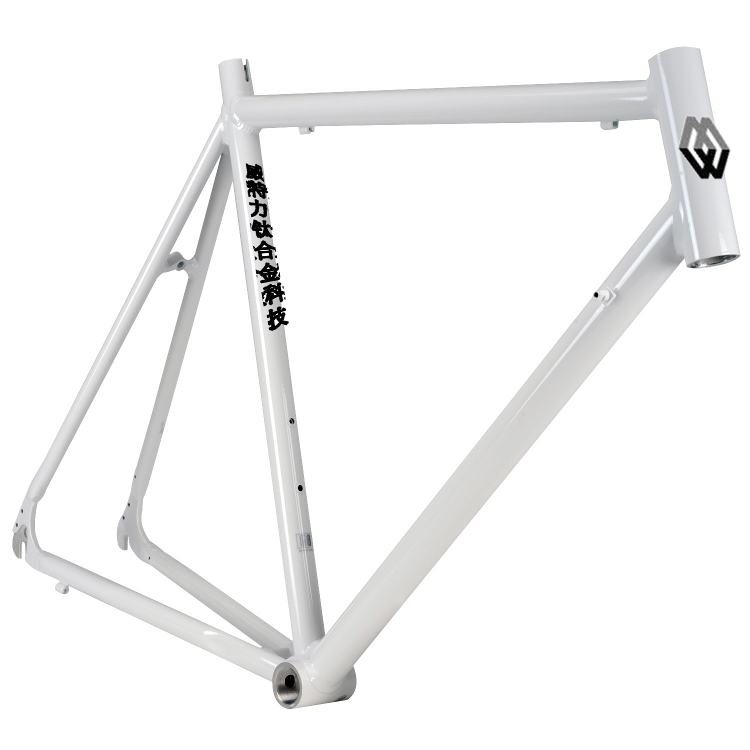 |
| A rough attempt to communicate desired logo placement (on a generic frame) |
Once all that sas settled, I approved the design and paid the 50% deposit (so a bit over $500) and it entered the production pipeline from which it was estimated it would emerge after 35-45 days.
Result
After just a bit longer than estimated time (frame was finished but logo sandblasting added a bit of time), I received a bunch of photos of the finished product, all staged against a beautiful shrubbery.


Obviously one can only tell so much from photos (e.g. was it built to spec? any issues with head tube or BB threads?), but it looked good to me so I paid the remaining 50% of balance and received the frame 5-7 business days later (shipped via EMS).
Despite knowing this would not be a weight-weenie build, I still of course had to weight it immediately upon receipt. Our kitchen scale has weighed many more bike components than food products.

Well, that was heavier than I had expected -- I think the original estimate (but before we had really nailed down lengths and dimensions) was 1300-1500g. So for a big frame with relatively large, unbutted tubes and flat mount, 44mm HT, etc. I guess this is probably just how it is. This is ~750g heavier than my carbon frame. Which is about the weight of one full bottle. So now I know at least how much weight I need to lose before I can complain that the bike is slowing down my hill climbs.
I had accumulated all the little bits I would need to move parts over from my current road frame (e.g. headset, FD clamp, flat-mount to post-mount adapters, new cables/housing). So it was a pretty quick job to swap it over.
Most importantly, though, the frame built up perfectly -- no issues with ovalized head tube (had read horror stories, but not with Waltly), no issues with BB shell, rear dropout, or caliper alignment. No seatpost slipping. And the final bike is exactly what I wanted. I did not try to take my own measurements of the tubes or angles, but everything seems to be correct (and fit was exactly right, compared to other bike). Waltly did an excellent job building out exactly what the final design indicated.
 |
| One of the first rides. |
 |
| (I was actually riding on the road adjacent to this trail.) |
And a few detail closeups:
 |
| 142x12 thru-axle dropouts |
 |
| Internal cables exiting (and un-crossing) near BB. |
 |
| Internal cables entering near head tube and externally routed brake cable. |
 |
| The logo effect is subtle (and hard to capture in photo), but I think looks great. |
Ridden
So having now ridden it for a few hundred miles, I can say that I'm definitely enjoying it. At first I noticed that it was heavier than the carbon bike, but now that I have nothing to compare it to, I don't notice that anymore. It's plenty stiff in the bottom bracket. I did not notice any flexibility, though I'm sure that if I jumped on a stiff carbon bike I could tell the difference. I love the way the metal frames ride over the road, though; it feels very solid, which is great. The rear thru axle is really nice. Not sure I can tell a difference in stiffness, but being able to mount the wheel while in the stand (without needing to recenter it in dropouts while on the ground) is a nice perk. No creaks anywhere is nice too. I hope this frame will last for a long time. Andrew had (has) some concerns about the internal routing (adding holes to highly-stressed areas of a frame); I guess time will tell. This is an area (one of many) where I wish I understood the physics at work here better.
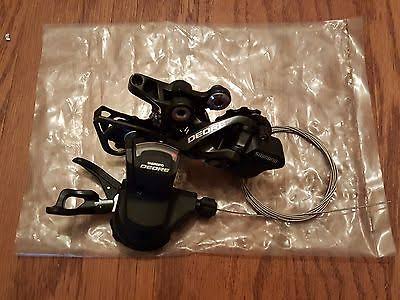
Next up, the groupset is getting an upgrade to hydro disc -- and flat-mount calipers. I'll probably try a new Hongfu flat-mount 12x100 fork I have. And I'm currently planning to switch to a 1x system (50t ring with 11-40t cassette), though I keep wondering if that is really the right move for this more purpose-built bike.
If (when) my Habanero adventure bike breaks next, I will strongly consider getting another Waltly frame to replace it. I have loved my Habanero frames, but I really want the versatility to use a tapered fork (the vast majority of disc-brake cx forks are tapered) and if the next break is also at the down tube then I think I'll have enough data points to suggest that a larger down tube would suit my riding style better. I might also design that frame around a different fork spec (e.g. a suspension-corrected 26" MTB axle-to-crown length) so that I could have flexibility to run 2.1" or larger 27.5" tires. Hmmm ... sounds like I have already started my next project :-)
And, more significantly, Force1/Force22 hdyro brakes/shifter. The new fork is really nice.

I have been enjoying this new bike immensely. It still feels heavy when I pick it up, but I enjoy the ride. It is plenty stiff but plenty comfortable.
I did decide to replace my commuter/gravel/cx frame! The requirements took a bit of a twist, but I'll write up a blog post on that shortly. (I'm working on the build now!)
Lessons Learned
I don't have any regrets with this frame. Sure, a titanium bike is heavier than carbon, but to me it feels like so much more of a bicycle. And Waltly did a first-rate job building to match the drawings.
There was, however, something I overlooked in the final drawing; I had intended to have the rear derailleur cable stops under the chain stay be simply zip-tie stops instead of traditional cable stops -- primarily because I wanted to run full-length housing. This was always "wrong" in the drawings and I only noticed it after that part of the frame was complete, so it's no one's fault but mine. That said, I think I prefer the traditional stops in the end anyway -- and this isn't my rain bike, so having the full-length housing is a bit unnecessary. I was thinking that zip-tie stops would look better when someday I move to eTap and get rid of the cable .... but that's probably a long, long time away (and I can always dremel off the cable stops if it bugs me). So the lesson there is just to check every single detail of the design multiple times. It boggles me that I missed that on 3 designs, but then it's a pretty subtle drawing difference between the zip-tie stop and the traditional full cable stop.
One "lesson" that did come out of this is that I should have been clearer initially with regard to chainstay spacing and not talk about the more indirect measurement of tire clearance. I originally requested clearance for 30mm tires (with intent of having option of running a 28mm tire on a wide rim). The v1 drawings indicated 46mm of spacing which seemed to be way more clearance than I needed (especially with no fender mounts); I was expecting maybe 5mm of diameter wiggle room (above requested tire clearance size) since there are no fender mounts on this frame. When I backed that down and just asked for 26mm clearance, I still have a frame with 42mm spacing, so I suspect I could comfortably fit a 32mm tire in there if I were so inclined. While right now the idea of even 28s seems a little redundant with my commuter/cx/gravel/adventure bike, it's nice to have the option. So clearly there was a very large (16mm) markup when translating "tire clearance" into "chainstay spacing".
Next Steps
If (when) my Habanero adventure bike breaks next, I will strongly consider getting another Waltly frame to replace it. I have loved my Habanero frames, but I really want the versatility to use a tapered fork (the vast majority of disc-brake cx forks are tapered) and if the next break is also at the down tube then I think I'll have enough data points to suggest that a larger down tube would suit my riding style better. I might also design that frame around a different fork spec (e.g. a suspension-corrected 26" MTB axle-to-crown length) so that I could have flexibility to run 2.1" or larger 27.5" tires. Hmmm ... sounds like I have already started my next project :-)
Update
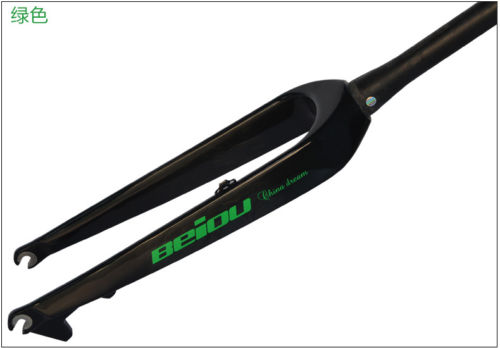
A little while after writing this, I switched over to a new flat-mount fork from Hongfu:
 |
| HongFu FK-079-F 12mm thru-axle road fork. |

I have been enjoying this new bike immensely. It still feels heavy when I pick it up, but I enjoy the ride. It is plenty stiff but plenty comfortable.
I did decide to replace my commuter/gravel/cx frame! The requirements took a bit of a twist, but I'll write up a blog post on that shortly. (I'm working on the build now!)